.png)


How to Carve a Scary Pumpkin
- Parker Hollatz
- Oct 30, 2025
- 3 min read
Halloween is an important day around the world. Kids dress up as their favorite fictional or real characters, and because Leavenworth is a small town, the streets are always flooded with all the kids who live there. Halloween is meant to be scary, and as a kid who has trick-or-treated many times, I can say that kids are drawn to the houses with the best decorations. One way to do this is by carving a scary pumpkin to give off the best look for your candle-lit porch.
The first step to making a scary pumpkin is the design. You have to pick a design that people would consider scary. The most common choice would be a design with sharp teeth and pointed eyes, along with your own little touch. That is what I will be doing in this how-to.
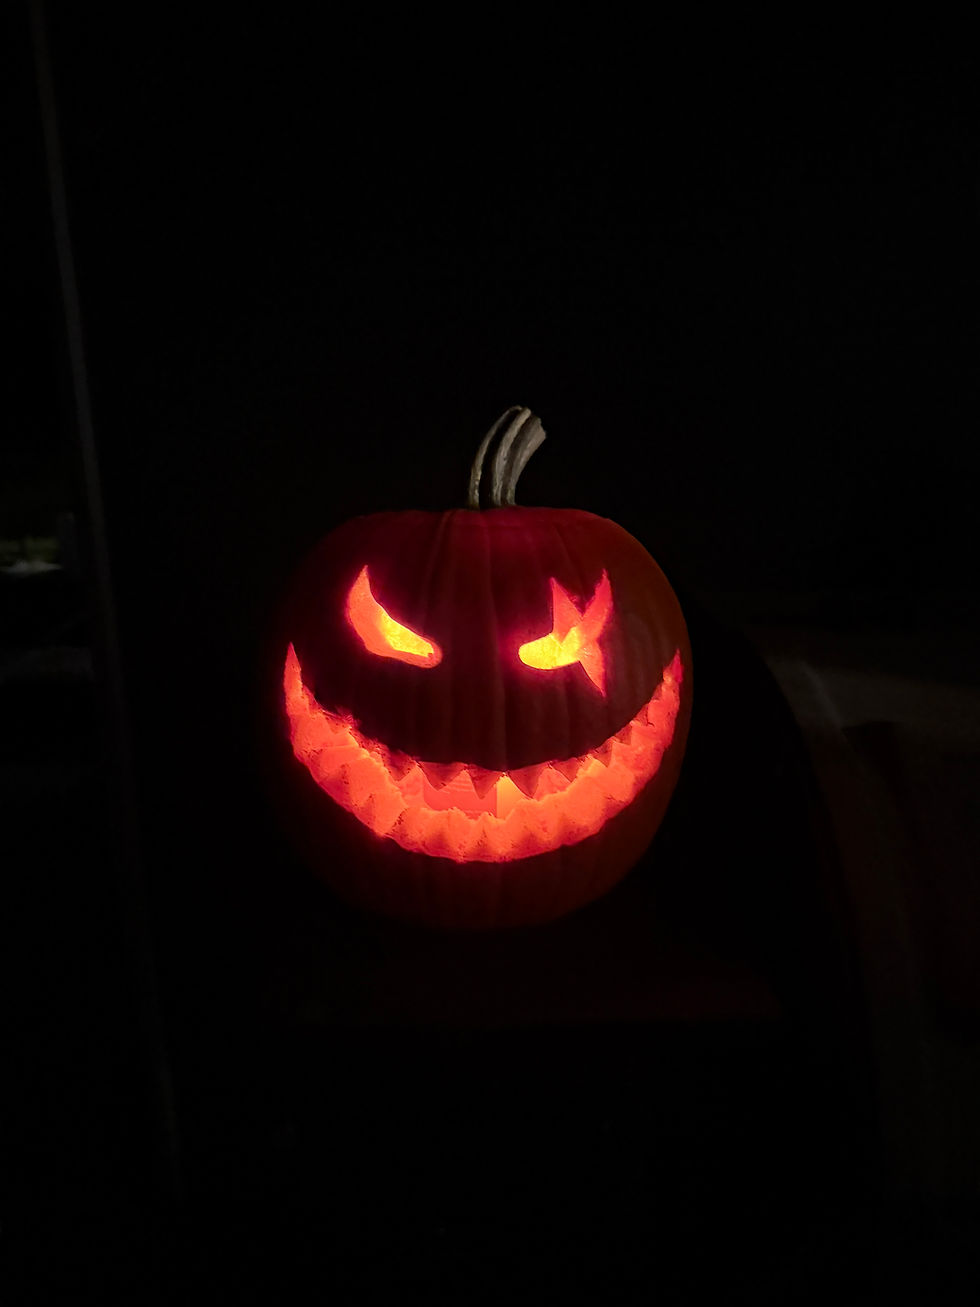
“I think the eyes and the mouth are the biggest influencers on whether a pumpkin is scary or not. Having sharp teeth or a creepy smile can make a huge difference,” said Arlo Gibbs (12).
“I think the eyes and the mouth are the biggest influencers on whether a pumpkin is scary or not. Having sharp teeth or a creepy smile can make a huge difference,” said Arlo Gibbs (12).
Once you know what design you will use, cut a medium-sized hole in the top of the pumpkin with the stem in the middle. Make sure the hole is big enough to fit both your hands inside. You can do this by carving a circle, or if it’s easier, with spikes around the top. Now that the top is off, set it aside for later.
The next part, which is gutting, can be either super fun or super gross depending on who you are. You will want a spoon with sharp teeth to make it easiest to take out all the seeds and stringy insides. Though a spoon will also get the job done, it will be harder.
Now that you have your hollow pumpkin, you can sketch or trace the design you picked out onto the pumpkin with a Sharpie. This will make it easier to carve your pumpkin because you can just carve along the lines. I drew on pointed eyes with a scar through the left eye and a big smile with sharp teeth.
Now you can begin to form the scary part of the pumpkin by carving along your design’s lines. Make sure you carve out your teeth too, not just a smile—this will add a spooky element to the outcome of your pumpkin. For my own little touch, I decided to shave off the first layer of the teeth to give the illusion of more realistic teeth. To do this, you just have to put your blade on the tip of the tooth and carve up or down until the tooth ends. Be careful not to go too deep because you don't want your pumpkin missing a tooth.
The last step is very simple. Now that you have carved it and it is ready to scare some trick-or-treaters, you want people to be able to see it in the dark. All you have to do is light a small candle and put it inside the pumpkin. Put the top back on and place your pumpkin outside.
“My favorite part about carving pumpkins is being able to share that experience with my friends and coming up with scary ideas,” said Gavin Haiduc (12).
Well done—you now know how to carve a scary pumpkin and add to your decorations for the spooky season. Carving pumpkins is a fun fall activity and is much more enjoyable if you do it with friends or family.


Comments